
Share
There's a shoebox somewhere in your closet, or your parents' closet, or maybe your grandmother's garage. Inside it: a handful of small black cassettes, about the size of a deck of cards. VHS-C tapes. The ones from the camcorder your dad carried on every vacation from 1988 to 1997.
You find an adapter online for $15. It looks like a regular VHS cassette with a little door in the front, you just pop the small tape inside, slot it into your VCR, and your old home movies play like nothing happened. Easy, right?
Wrong. And this article is going to explain exactly why, and what you should do instead.
First, What Even Is a VHS-C Tape?
VHS-C ("Compact") was introduced in 1982 as a smaller version of the standard VHS cassette. The format was designed for portable camcorders, same magnetic tape inside, just a much smaller shell. A VHS-C tape holds about 30 to 45 minutes of footage, compared to 2-6 hours on a full-size VHS.
The clever engineering trick was the adapter: a full-size VHS shell with a mechanical interior that held the small cassette and extended its tape path so a standard VCR could read it. In the 1980s and 90s, when these tapes were fresh and the equipment was new, it worked pretty well.
That was 30 to 40 years ago. Today? The situation is very different.
What the Adapter Actually Does (Mechanically)
This is important to understand because it explains why things go wrong.
When you drop a VHS-C tape into an adapter, the adapter doesn't just hold it in place. It physically unspools a section of tape out of the small cassette and routes it through the full-size shell's tape path. There's a swing arm inside with a guide roller that pulls the tape out and positions it far to the right edge of the adapter, the same position it would occupy in a normal full-size VHS cassette.
When the VCR loads it, the machine's drum and pinch rollers engage with that extended section of tape. When you eject, a geared retraction system pulls the tape back into the small cassette.
Every step in this process puts mechanical stress on your tape. The tape is being bent around guide rollers it was never designed for, routed a longer-than-intended path, and then reeled back in. On a fresh tape in 1992, this was fine. On a 35-year-old tape that has been sitting in a box since the Clinton administration? Every pass through that mechanism is a gamble.
The Problems. Straight From People Who've Lived It
Online forums like VideoHelp and Reddit's tape preservation communities are full of people who discovered the hard way what VHS-C adapters do to old tapes. Here's what they consistently report:
📼 The tape just stops, randomly, unpredictably. This is one of the most common complaints. The tape plays for 30 seconds, or 10 minutes, and then the VCR just stops. Not always the same spot. Not always the same tape. The cause is usually drag, the old tape is stiff or slightly sticky, and the adapter adds friction on top of that. The VCR's transport mechanism senses the resistance and shuts down to protect itself (or just chokes). As one long-time forum member put it bluntly: "The VHS-C adapter solution was always cantankerous."
📼 The tape gets eaten. This is the nightmare scenario. The adapter's internal swing arm fails to properly retract the tape, and a loop gets left in the mechanism. The VCR then pulls against that loop and the tape crinkles, creases, or snaps. Sometimes the tape ends up tangled between the adapter and the VCR's loading drum. People have reported pulling their cassette out of the VCR only to find a crumpled foot of tape hanging out, permanently creased, that portion of the footage gone forever.
📼 The battery is dead and nobody told you. Motorized VHS-C adapters (the better ones, made by JVC and Panasonic) have a small battery, usually an AA, that powers the internal motor for the lacing cycle. If that battery is weak or corroded, the adapter goes through an incomplete load cycle. The tape isn't quite positioned right. The VCR plays it for a moment, detects something wrong, and stops. Or worse, the eject cycle doesn't complete, and the tape gets stuck in the adapter which gets stuck in the VCR. If you're using a motorized adapter, replace the battery first. Always.
📼 Cheap non-powered adapters. These are the worst offenders. Manual lever-load adapters, the ones with no battery and no motor, have no ability to compensate for tension or timing. They rely entirely on the VCR's mechanical transport to route the tape, and they have a much higher failure rate. A respected video restoration expert on VideoHelp said it plainly: "If this is a non-powered adapter, it's a POS and will likely eat tapes." If you're going to use an adapter at all, only use a name-brand motorized one from JVC or Panasonic.
📼 Your VCR isn't compatible. Not all VCRs handle adapters equally. The skinny budget VCRs from the early 2000s, particularly the cheap silver-tone models from the dying days of VHS, often don't have strong enough loading mechanisms to handle the extra drag. The sweet spot is pre-1999 full-size decks from Panasonic, JVC, or Mitsubishi.
📼 The tape is old and sticky. Magnetic tape from the 80s and 90s can suffer from a condition called Sticky Shed Syndrome, the binder layer that holds the magnetic particles to the tape deteriorates and becomes tacky. When the VCR pulls on sticky tape, it either drags and stops or snaps.
📼 Mold. Yes, mold grows on VHS tape. If you can see fuzzy patches, discoloration, or smell a musty odor when you open a cassette case, do not put it in any machine before having it professionally cleaned.
The Better Way: Digitize Directly From the Camcorder
Here's the thing that most people don't know: you don't need to go through the adapter at all.
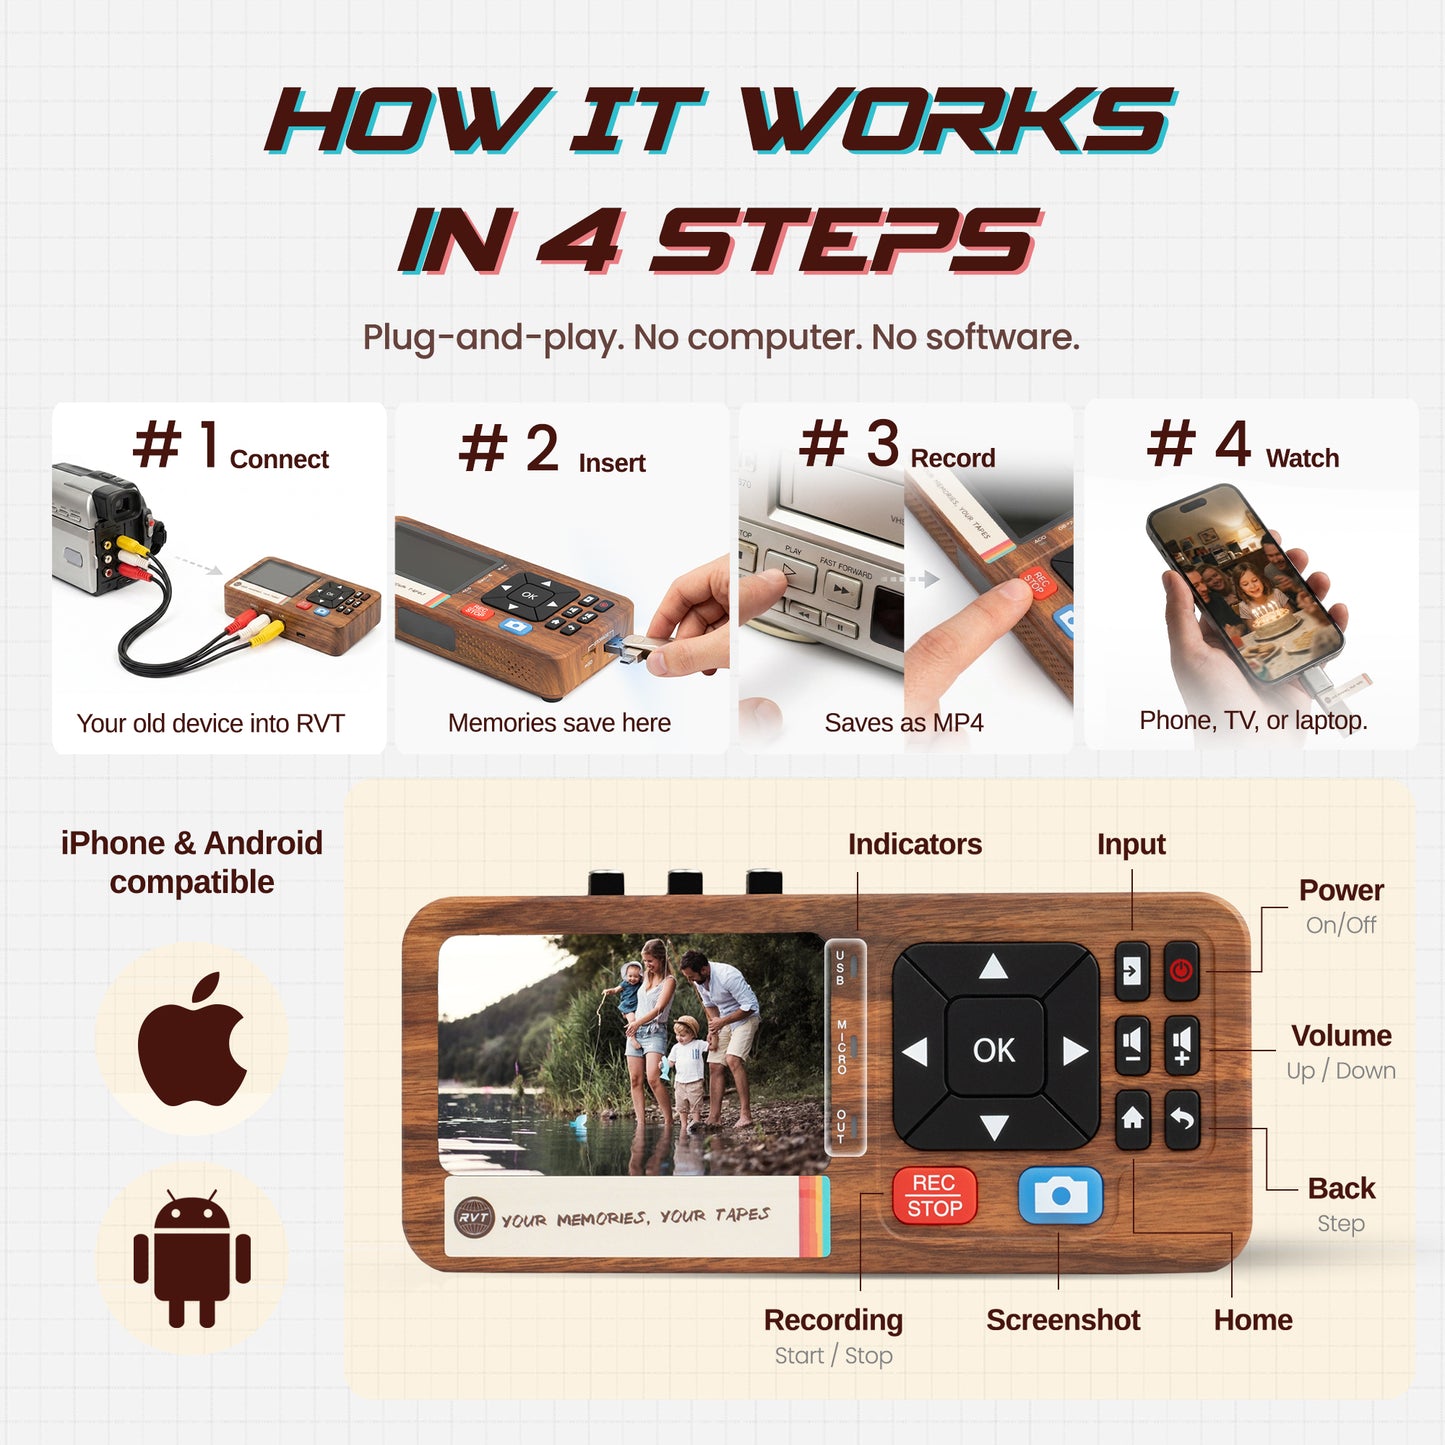
Your camcorder, the original device that recorded these tapes, has an AV output port. On most 80s and 90s camcorders, this is a set of composite (red/white/yellow RCA) jacks or an S-Video port. When you press play on the camcorder, it outputs a live video signal through those ports.
All you need to capture that signal is a video capture device, a small USB dongle (brands like Elgato, Magewell, or generic USB capture cards) that connects your camcorder's AV output to your computer. Software like OBS Studio, VirtualDub, or even iMovie can then record that signal as a digital file.
Why is this better than the adapter route?
- ✅ The tape runs through the mechanism it was designed for — the camcorder's own heads and transport
- ✅ No extra mechanical stress from the adapter's swing arm and guide rollers
- ✅ Camcorder drums often spin at twice the RPM of a VCR drum, which can give you cleaner playback on marginal tapes
- ✅ If the tape jams, it jams in a machine that was built for that tape format — less likely to cause catastrophic damage
- ✅ You skip the VCR compatibility gamble entirely
The camcorder is the machine that knows these tapes best. Let it do the job it was built for.
If You Still Want to Use an Adapter. Do This First
Look, sometimes you don't have the camcorder anymore. In that case, the adapter is your only option, but there are steps you should take to give your tapes the best possible chance.
🔁 Cycle the Tape Before You Do Anything Else
This is the single most important thing you can do, and most people skip it.
Before you put a tape into an adapter, run it through a full rewind and fast-forward cycle in the camcorder (or in a tape rewinder if you have one). Rewind all the way to the beginning. Fast-forward all the way to the end. Rewind back to the start.
Here's why this matters: tape that has been sitting on a spool for 20 or 30 years develops what's called "pack set", the layers of tape compress slightly against each other, and tension across the reel becomes uneven. When the adapter's swing arm pulls the tape out and extends it through the larger tape path, it's asking the tape to do something it hasn't done in decades. If the tape has uneven tension or is slightly adhered to itself, that's when it snaps.
Think of it like this: if you've been sitting in a car for four hours and immediately try to sprint, something pulls. You need to stretch first. Your tape needs the same thing. Cycling it re-seats the magnetic oxide evenly, redistributes tension, and loosens any areas that might have developed slight sticking. It's a 5-minute step that can be the difference between a successful transfer and a broken tape.
🔋 Replace the Adapter Battery
If you're using a motorized adapter, put a fresh AA battery in before use. A weak battery means an incomplete lacing cycle, which means a mis-threaded tape, which means problems.
🧹 Clean the Adapter's Internal Guide Rollers
Gently clean the guide rollers inside the adapter with a cotton swab lightly dampened with isopropyl alcohol (90% or higher). Let them dry completely before use.
🖥️ Use a Quality VCR
Use a pre-1999 full-size deck from JVC, Panasonic, or Mitsubishi. These have stronger loading mechanisms and handle the extra tape drag better than cheap budget models.
⚠️ Watch Your Tape. Don't Walk Away
Stay in the room for the first few minutes of playback. If the tape slows, the mechanism strains, or the picture breaks up, stop immediately.
🛑 Never Force an Eject
If the tape doesn't eject smoothly, do not force it. Unplug the machine, let it sit, and try again. If it's still stuck, consult someone with VCR repair experience before doing anything else.
What to Do If Your Tape Has Already Had a Bad Experience
Don't throw it away. Damaged tape can often be repaired by someone experienced with magnetic tape splicing. If you can see mold, have the tape professionally baked and cleaned before any playback attempt.
The Big Picture: Your Memories Have a Deadline
Magnetic tape does not last forever. The Library of Congress has estimated the practical lifespan of magnetic tape at 10 to 30 years under ideal storage conditions. Many VHS-C tapes are already past that window.
Every failed playback attempt, every time an adapter eats a tape, every time a VCR pulls too hard on sticky media, is a point of no return. The footage is gone. There's no recovering it.
Digitize directly from the camcorder if you can. Cycle your tapes before you do anything with them. Use quality equipment. And when in doubt, ask for help from someone who does this for a living, before you attempt it yourself.
Your memories deserve better than a $15 plastic shell and a prayer.
More VHS-C rescue advice, including the camera-first trick, lives in our free VHS-C guide.
Have old VHS-C tapes you're trying to save? Drop your questions in the comments, happy to help you figure out the safest path forward.