
Share
8mm Video Cassettes: The Complete Guide to Video8, Hi8 & Digital8 in 2026
Somewhere in a closet, a shoebox, or the back of a drawer, millions of families have a small stack of 8mm video cassettes. They are compact, barely bigger than a deck of cards, and they hold something irreplaceable: birthday parties, family vacations, first steps, last hugs. If those tapes are yours, you probably already know the feeling of realizing you have no way to play them.
That is the challenge facing 8mm tape owners in 2026. The Sony Handycam camcorders that recorded and played these tapes are no longer manufactured. Working units are increasingly scarce and expensive on the secondhand market. The tapes themselves are aging, losing magnetic signal quality every year and becoming susceptible to mold, warping, and sticky-shed syndrome that can destroy a tape during playback.
The Three 8mm Formats Explained
Video8
Video8 was introduced in 1985 as Sony's compact alternative to bulky VHS camcorders. It recorded standard-definition analog video and became one of the most common consumer camcorder formats of the late 1980s and 1990s.
Hi8
Hi8 improved on Video8 with sharper picture quality and higher resolution. Hi8 camcorders can usually play standard Video8 tapes, but Video8 camcorders cannot properly play Hi8 tapes.
Digital8
Digital8 recorded digital DV-quality video onto the same physical 8mm tape style. Many Sony Digital8 camcorders can play Digital8, Hi8, and Video8 tapes, making them one of the most versatile playback options today.
How to Identify Your Tape Format
- Hi8 label: Printed on the face or spine of the cassette.
- Digital8 label: Usually printed prominently, often with Sony branding.
- No special label: Usually indicates standard Video8.
- Camcorder model: Check the format name printed near the cassette door or front panel.
Important note: The label on the cassette may describe the tape stock, not always the recorded format. For example, a Hi8 cassette could have been recorded in a Video8 camcorder.
Playback Options
1. Your Original Camcorder
If the camcorder that recorded the tapes still works, it is often the best playback source. Clean the heads with a proper 8mm head-cleaning cassette before digitizing important tapes.
2. Sony Digital8 Camcorder
Many Sony Digital8 camcorders can play Video8, Hi8, and Digital8 tapes in one device. They are popular because they can handle multiple 8mm formats.
3. Hi8 Camcorder
A Hi8 camcorder can play both Hi8 and Video8 tapes. These are often easier to find than Digital8 models.
4. Professional Transfer Service
If your tapes are damaged, moldy, or showing signs of sticky-shed syndrome, a professional transfer service may be the safest option.
5. USB Capture Device
For most people with a working camcorder, the most practical option is connecting the camcorder's AV output to a USB capture device and recording the footage on a computer.
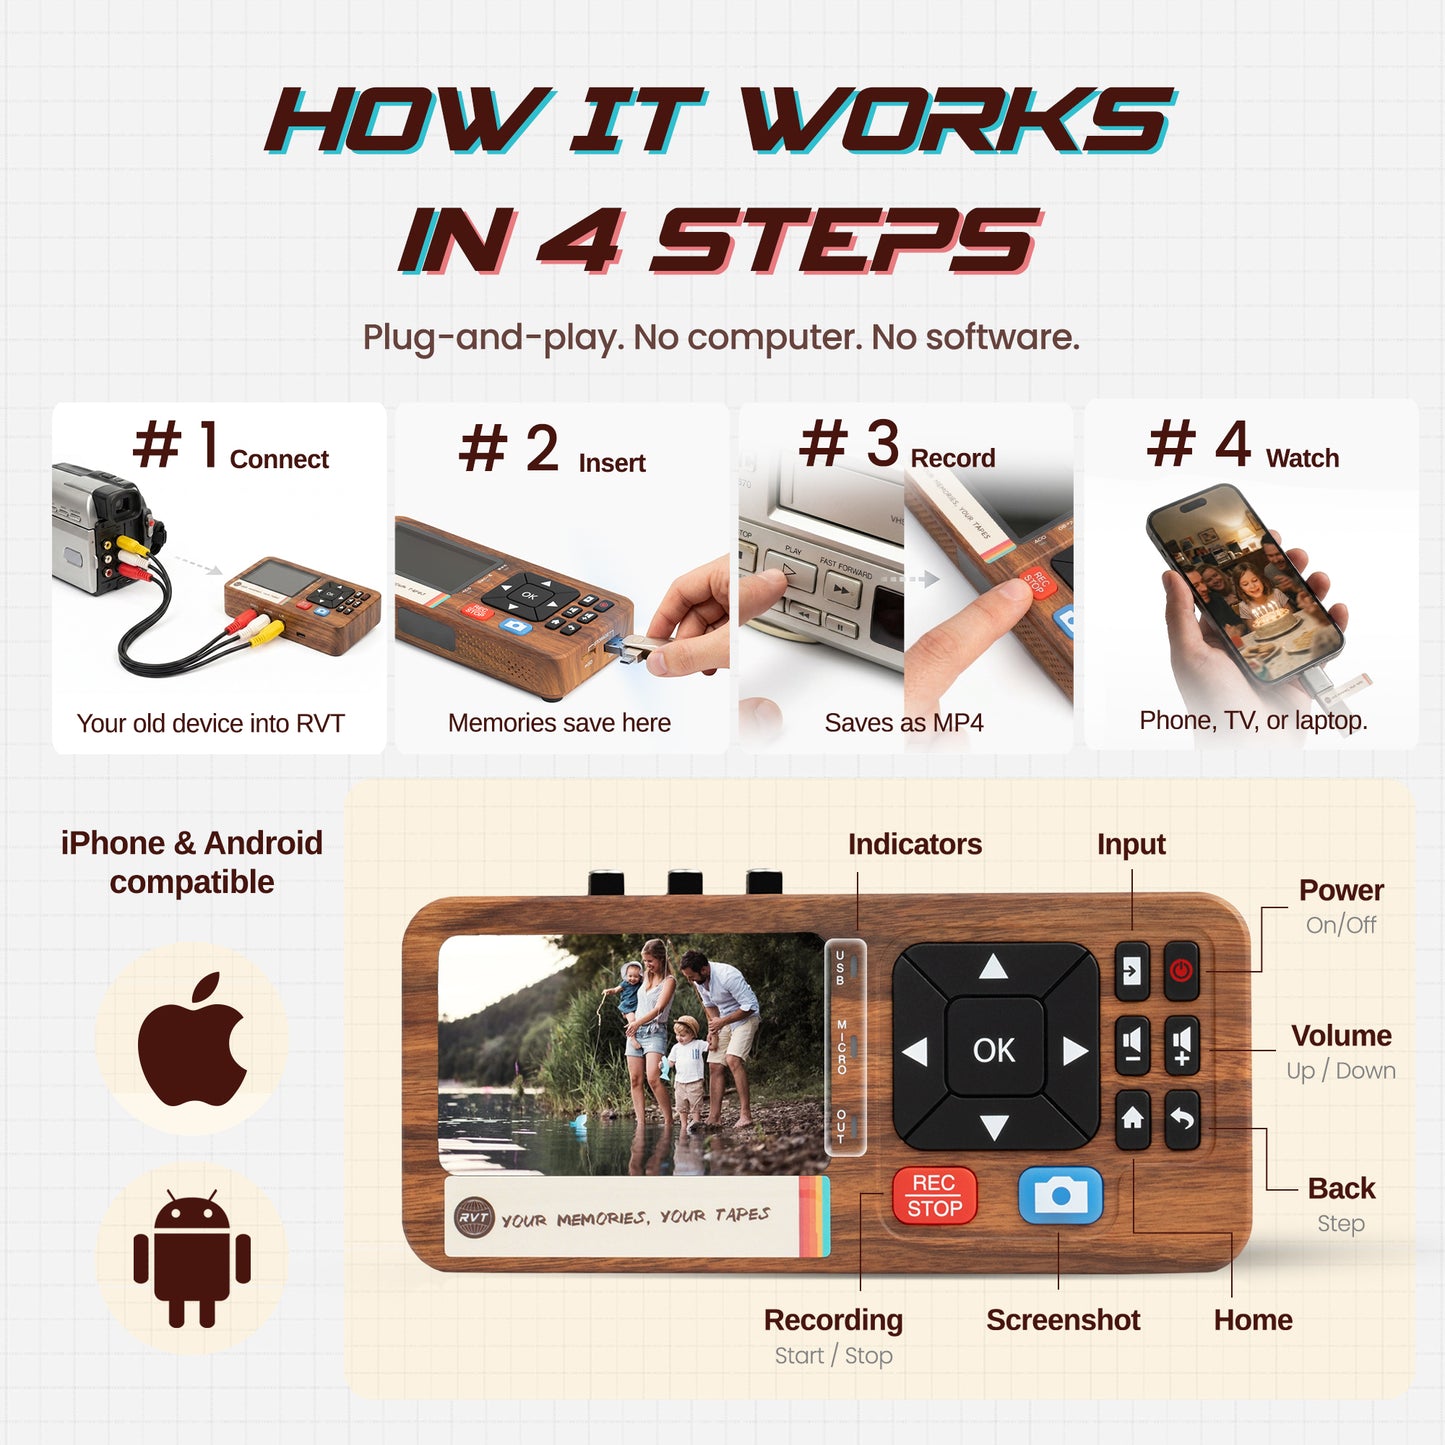
What You Need to Digitize 8mm Tapes at Home
- A working 8mm, Hi8, or Digital8 camcorder compatible with your tapes
- RCA or S-Video output cables
- RVT Digitizer 3.0 or another compatible USB capture device
- A Windows or Mac computer
- Video capture software such as OBS Studio
- Enough storage space for large MP4 files
How to digitize your 8mm tapes
Step 1: Inspect Your Tapes
Check each cassette for mold, musty odors, sticky residue, or visible damage. Do not play tapes that show signs of mold or shedding.
Step 2: Connect the Camcorder
Connect your camcorder's AV output to the RVT Digitizer 3.0 using RCA or S-Video cables. Then connect the digitizer to your computer through USB.
Step 3: Set Up Capture Software
Open your capture software and select the digitizer as the video and audio input. Set the output format to MP4.
Step 4: Run a Test Capture
Play a short section of the tape and confirm that both video and audio are working before recording the full tape.
Step 5: Capture the Full Tape
Rewind the tape, start recording in the software, then press play on the camcorder. Tape capture happens in real time; a 90-minute tape takes 90 minutes to digitize.
Step 6: Save and Back Up Your Files
Name your files clearly, such as 1996_Florida_Vacation_Hi8.mp4. Back up each file immediately in more than one location.
Caring for Your 8mm Tapes
- Temperature: Store tapes in a cool, stable environment.
- Humidity: Avoid damp spaces that can encourage mold growth.
- Storage position: Store tapes upright on their edges.
- Rewind before storage: Keep tapes fully rewound to maintain even tension.
Common Problems and Fixes
No Signal from the Camcorder
Make sure the camcorder is in playback or VCR mode, check all cable connections, and confirm the correct input is selected in the capture software.
Tape Will Not Play or Is Jammed
Do not force a stuck tape. Try fast-forwarding and rewinding gently to loosen the reels. If the camcorder ejects the tape immediately, the camcorder may need repair.
Dirty or Worn Heads
Fuzzy video, missing video, or distorted playback can be caused by dirty heads. Use a proper 8mm head-cleaning cassette.
Digital8 Camcorder Will Not Play Hi8 Tapes
Not all Digital8 camcorders support Hi8 and Video8 playback. Check the camcorder manual before buying one for digitization.
Frequently Asked Questions
Can I play Hi8 tapes in a Video8 camcorder?
No. A Video8 camcorder cannot properly play Hi8 tapes. A Hi8 camcorder can usually play both Hi8 and Video8 tapes.
What is the best way to digitize Digital8 tapes?
Digital8 tapes can often be transferred through FireWire for a direct digital capture. If FireWire is not available, analog capture through RCA or S-Video is another option.
What if my camcorder is broken?
You can buy a replacement camcorder, repair your existing one, or use a professional digitization service.
How long do 8mm video tapes last?
Under typical household storage conditions, many 8mm tapes have a practical lifespan of around 20 to 30 years. Older tapes should be digitized as soon as possible.
Do I need special software?
No. Free software like OBS Studio works well for many capture setups.
The free Video8 & Hi8 guide in our Learning Center goes deeper on playback and preservation for these tapes.
Ready to Save Your Tapes?
The RVT Digitizer 3.0 is built to help convert 8mm, Hi8, and Digital8 camcorder footage into digital MP4 files on a modern computer.
It connects your camcorder to your PC or Mac through USB and gives you a reliable way to preserve family memories before the tapes and playback equipment become harder to use.