
Family videos on 8mm tapes hold stories that can never be replaced. As time passes, these memories face the risk of fading away, hidden on fragile analog tapes. The good news? With the right 8mm tape to vhs converter, you can rescue these moments and share them for generations.
This expert guide walks you through every step, from understanding old formats to choosing the best equipment and ensuring flawless transfer. We will show you how to capture those irreplaceable smiles, laughter, and milestones, making the process safe, simple, and reliable. Ready to preserve your legacy?
Understanding 8mm Tapes and VHS: Formats, History, and Use Cases
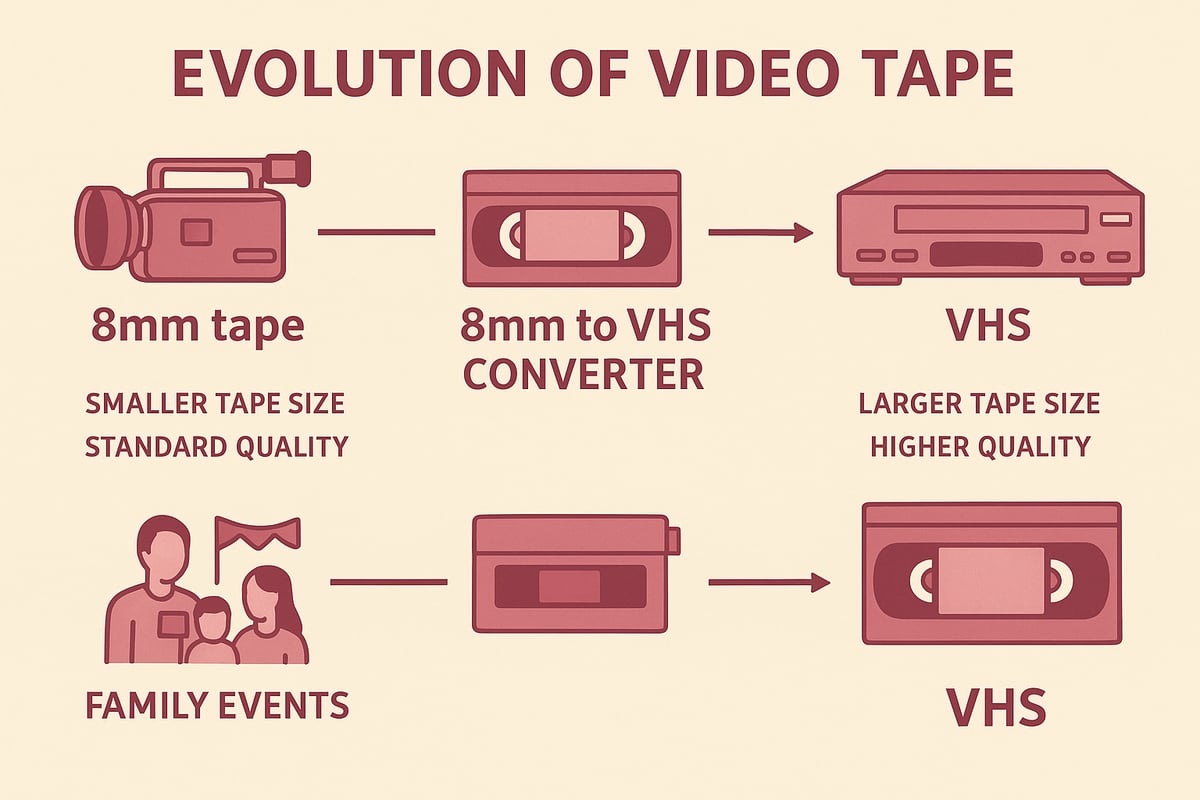
The Evolution of 8mm and VHS Formats
The story of the 8mm tape to vhs converter begins with two giants of home video. The 8mm family—Video8, Hi8, and Digital8—rose to fame in the 1980s and 1990s, making it easy to record birthdays, holidays, and milestones in compact camcorders. VHS, on the other hand, became the household standard for playback and recording, with over 250 million players sold by 2000.
Here’s a quick comparison:
| Format | Year Introduced | Peak Years | Typical Use | Tape Length |
|---|---|---|---|---|
| 8mm | 1985 | 1995-1999 | Camcorder footage | 30-120 min |
| VHS | 1976 | 1985-2000 | TV/home movies | 120-240 min |
Families often recorded precious moments on 8mm, then shared or preserved them on VHS. For a deeper dive into these formats, visit the 8mm video cassettes explained guide.
Why Convert 8mm Tapes to VHS in 2026?
Why is the 8mm tape to vhs converter still so important in 2026? VHS players remain surprisingly common in homes and archives, making VHS a practical bridge for further digital conversion. While 8mm tapes can start to degrade after just 10–20 years, VHS tapes often last 15–30 years when stored well.
Think of schools digitizing old class projects or museums archiving local history. Without timely conversion, those magnetic memories could vanish. Recent studies show magnetic tape’s lifespan is limited, so converting now is the best way to preserve family stories or community events for future generations.
Common Scenarios and User Needs
Who uses an 8mm tape to vhs converter today? Families wanting to relive childhood vacations, collectors archiving rare performances, and content creators searching for authentic vintage footage all rely on this process. Institutions like libraries and museums also use it to safeguard historical archives.
Imagine a family preparing for a reunion by restoring their 1980s vacation tapes. They use the converter to bring those moments back to life, ready to share and enjoy together. The right converter makes this journey smooth for everyone, from casual users to professional archivists.
Challenges of Working with Legacy Media
Using an 8mm tape to vhs converter comes with challenges. Old tapes can suffer from mold, dust, or magnetic loss, making playback tricky. Finding a working 8mm camcorder or VCR can be tough, as fewer units are available each year.
If tapes are stored in damp attics or hot basements, they may become unplayable. That’s why careful handling and professional-grade equipment matter. The best converters help you overcome these hurdles, ensuring your memories survive and thrive long into the future.
Essential Equipment for 8mm Tape to VHS Conversion
Preserving your family’s 8mm memories starts with the right gear. The right 8mm tape to vhs converter setup can make all the difference between faded footage and crystal clear playback. Let’s break down exactly what you’ll need to get started, no matter your experience level.
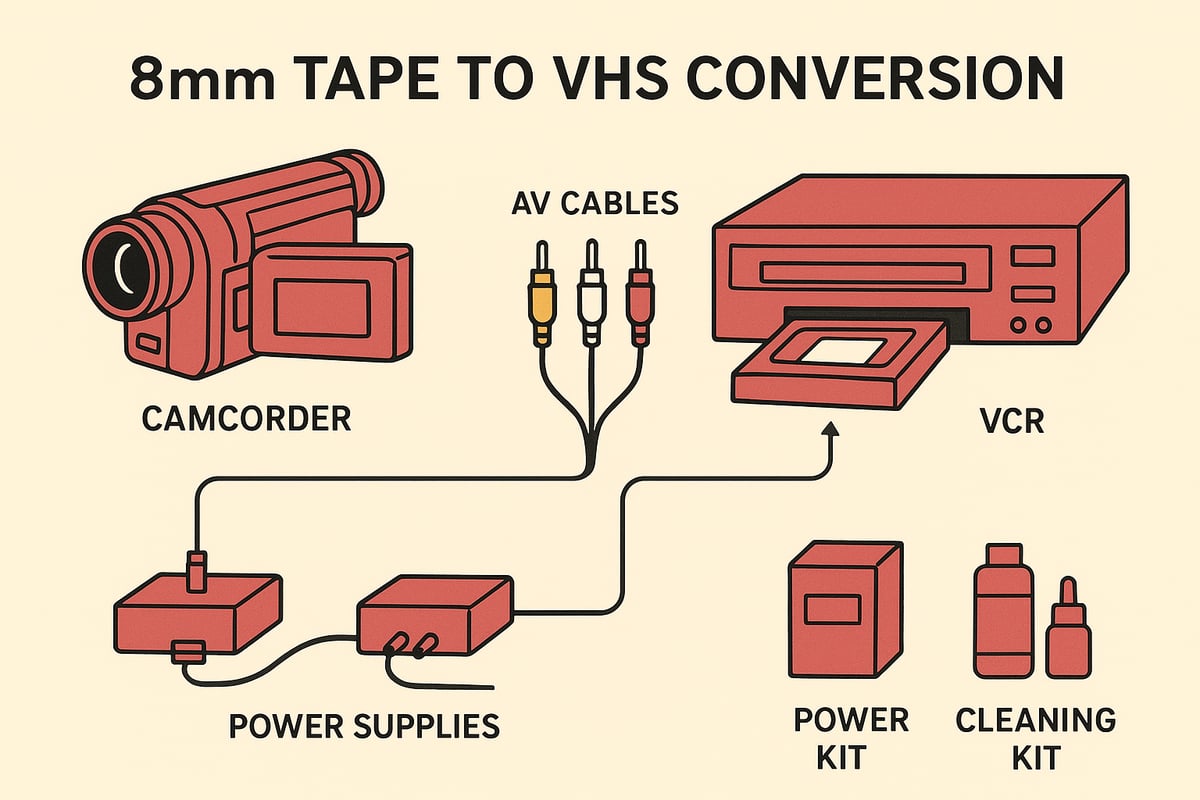
Required Devices and Accessories
To build your 8mm tape to vhs converter station, you’ll need a few essentials:
- An 8mm camcorder or playback deck with AV output
- A VHS VCR that can record
- RCA (composite) or S-Video cables for connecting devices
- Blank VHS tapes (preferably archival grade)
- Power adapters, cleaning kits, and tape adapters if needed
Many families use their original camcorder for playback, but a standalone deck can offer steadier performance. For more details on choosing the right hardware, see this VHS converter for 8mm tape resource.
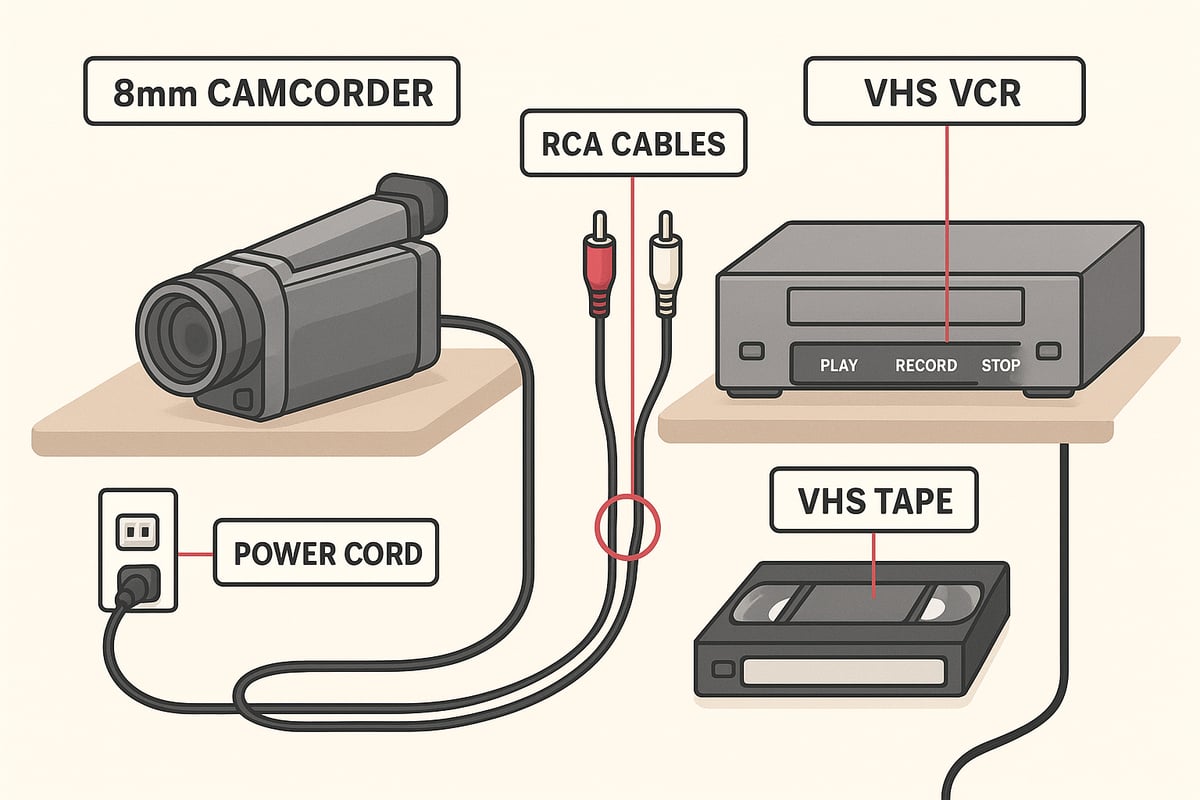
Step-by-Step Setup: Connecting Devices
Setting up your 8mm tape to vhs converter is easier than you might think. Follow these steps:
- Connect the AV output from your 8mm camcorder to the input jacks on your VCR.
- Secure all cable connections and double check that each device has power.
- Select the correct input channel on your VCR (often labeled “AV” or “Line In”).
- Insert a blank VHS tape into the VCR.
- Test the signal by pressing play on the camcorder and watching for a clear image.
If you don’t see video, check your cables and input settings. A reliable 8mm tape to vhs converter setup will save you time and frustration during the actual transfer.
Selecting the Right Tape Quality and Speed Settings
Choosing the right recording mode on your 8mm tape to vhs converter matters for both quality and longevity. VHS offers several speed settings: SP (Standard Play), LP (Long Play), and EP (Extended Play).
| Setting | Quality | Recording Time | Best Use |
|---|---|---|---|
| SP | High | Shortest | Archival, important events |
| LP/EP | Lower | Longer | Less critical footage |
For family memories, always use SP mode. Compare two recordings side by side and you’ll see the difference. A good 8mm tape to vhs converter ensures your footage looks its best for years to come.
Cleaning and Preparing Tapes for Conversion
Before you use your 8mm tape to vhs converter, inspect each tape:
- Look for mold, dust, or warping
- Gently clean the cassette exterior and tape path
- Use a cleaning cassette in both camcorder and VCR before starting
- Rewind and fast-forward tapes to loosen any stuck sections
Careful preparation can revive sticky or neglected tapes, giving your 8mm tape to vhs converter the best shot at a flawless transfer.
Safety and Preservation Tips During Conversion
Protect your memories as you use the 8mm tape to vhs converter:
- Limit repeated playbacks to prevent wear
- Handle tapes only by their edges
- Store tapes upright in a cool, dry space away from electronics
- Keep your equipment free of dust and well ventilated
A little caution ensures your 8mm tape to vhs converter delivers reliable results and preserves your family’s story for decades.
Step-by-Step Guide: How to Convert 8mm Tape to VHS (2026 Edition)
Preserving family memories is easier than ever, but only if you follow the right process. This guide walks you through every step to get your precious footage from 8mm tape to VHS with confidence and clarity. Whether you are a first-timer or a seasoned archivist, you will find practical tips and expert insights to make your transfer smooth and reliable.
Preparing Your Workspace and Equipment
Start by setting up a clean, static-free workspace. Choose a sturdy table with enough space for your 8mm camcorder (or playback deck), VHS VCR, and any accessories.
Check that all devices power on and function as expected. Use a blank VHS tape with enough length for your planned transfer. Gather all cables, including RCA or S-Video, and have cleaning supplies ready.
Before starting your 8mm tape to vhs converter process, test each piece with a short, unimportant segment. This ensures everything is working and helps you spot any issues early. A little prep now saves a lot of frustration later.
Chronological Conversion Process: From 8mm to VHS
Ready to begin? Follow these steps for a successful transfer using your 8mm tape to vhs converter setup:
- Insert your 8mm tape into the camcorder or playback device.
- Connect AV cables from the camcorder output to the VCR input, matching color codes for video and audio.
- Insert a blank VHS tape into the VCR and select the correct record mode.
- Cue the 8mm tape to the starting point you want to capture.
- Press record on the VCR, then press play on the camcorder.
- Monitor the transfer on your TV or VCR display.
- When done, stop both devices and rewind tapes.
For more details and troubleshooting tips, check out this 8mm video cassette converter guide. Each step is important for a seamless transfer and lasting results.
Monitoring and Adjusting During Transfer
Stay attentive during the process. Watch the screen for any signal dropouts, static, or audio sync issues. Adjust the tracking on your VCR if you see rolling lines or fuzzy images.
Keep an eye on tape movement. If you hear odd noises or see the tape slow down, pause the process and check both devices. Having your 8mm tape to vhs converter setup visible lets you spot and fix problems quickly.
If your transfer starts well but goes off track, do not panic. Pause, check cables, and resume. A quick adjustment now ensures your memories are preserved in the best possible quality.
Troubleshooting Common Problems
Even the best setups can hit a snag. Here is a table of common issues and quick fixes for your 8mm tape to vhs converter journey:
| Issue | Solution |
|---|---|
| No video or audio | Check all cable connections |
| Distorted image | Clean heads, adjust tracking |
| Tape not recognized | Try another device or tape |
| Blue screen error | Switch inputs, verify settings |
If you get a blue screen, double-check your input selection on the VCR. Clean any dirty heads with a cleaning cassette and make sure tapes are not damaged. Sometimes, swapping out a cable or using a different VHS tape solves the issue.
Ensuring Best Picture and Sound Quality
Quality matters when you use an 8mm tape to vhs converter. Choose SP (Standard Play) mode for the sharpest video and clearest sound. Avoid reusing old or worn VHS tapes.
Use high-quality cables and keep devices free of dust. Clean the heads on both camcorder and VCR before each session. This small step can mean the difference between a blurry transfer and a crisp, vibrant memory.
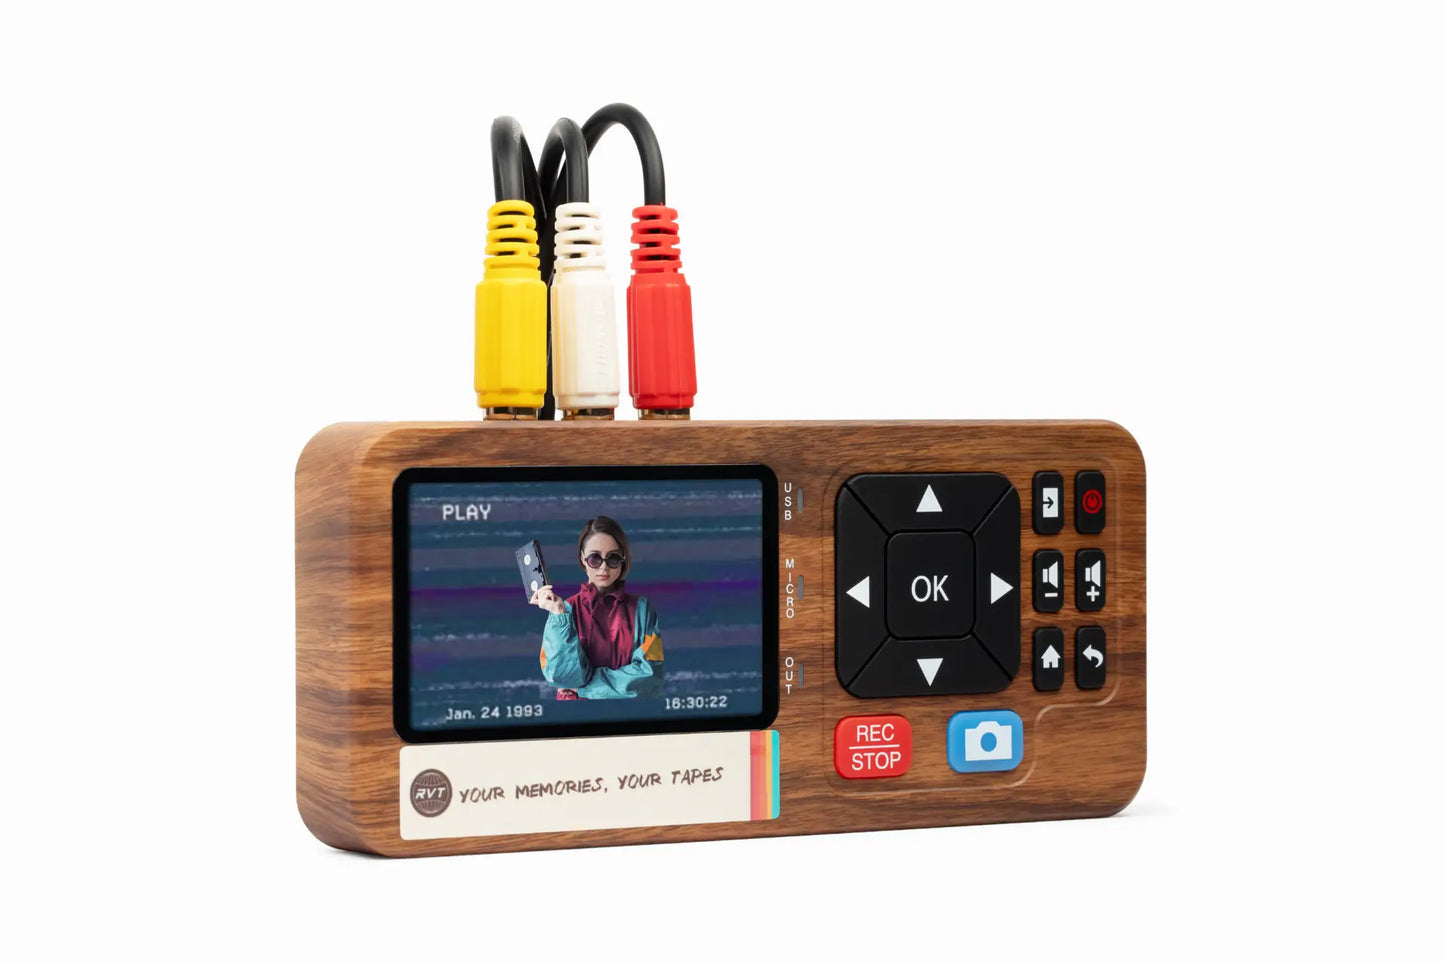
For the ultimate results and speed, many families trust the RVT Digitizer when moving from VHS to digital. Its advanced encoding chip and professional-grade build set it apart from generic converters. You get unmatched clarity, color, and sound that lasts for generations.
Post-Transfer Review and Quality Check
Do not assume your transfer is perfect on the first try. Play back the VHS tape from start to finish. Listen for audio glitches and look for dropped frames or missing segments.
If you spot any problems, cue up the original 8mm tape and re-record just that section. Always keep your 8mm tape to vhs converter setup ready for quick fixes.
After review, make a backup copy of your VHS tape if possible. Double backups are a lifesaver if a tape is ever lost or damaged. This extra step turns a good result into a great one, ensuring your 8mm tape to vhs converter efforts stand the test of time.
Storing and Labeling Converted VHS Tapes
Once your transfer is complete, store your VHS tapes upright in a cool, dry place away from magnets and heat. Use archival-grade tapes whenever possible for long-term safety.
Label each tape clearly with the date, content, and original source. Here is a simple labeling example:
Smith Family Vacation 1988
Transferred from 8mm Tape
Converted 2026
Organize your tapes in a dedicated box or cabinet. This way, your 8mm tape to vhs converter work pays off every time you want to revisit old memories or share them with others.
Choosing the Best 8mm Tape to VHS Converter: Features, Brands, and Performance
Preserving family footage or creative projects starts with choosing the right 8mm tape to vhs converter. In 2026, technology has changed, but the need for reliability, clarity, and ease remains constant. Whether you are archiving memories, restoring rare recordings, or creating retro content, knowing what to look for in an 8mm tape to vhs converter can save you frustration and protect your precious moments.
What Makes a Great Converter in 2026?
A great 8mm tape to vhs converter in 2026 balances modern engineering with legacy compatibility. Look for clear signal transmission, sturdy build, and user-friendly setup. Key features include advanced encoding chips that ensure stable transfer and minimize signal loss.
Many users wonder if a direct adapter can play 8mm tapes in a VHS player. In reality, this is not possible. For a detailed explanation, see 8mm tape adapter to VHS feasibility. Instead, opt for converters that connect your 8mm camcorder to a VCR using RCA or S-Video cables for the best results.
For example, a family archiving home movies from the 1990s will notice sharper video and fewer glitches with a high-quality 8mm tape to vhs converter. Reliable converters keep the process simple and stress-free.
RVT Digitizer: The Industry Benchmark for VHS to Digital Conversion
The RVT Digitizer stands out as the gold standard for anyone seeking the best 8mm tape to vhs converter. Its advanced encoding chip delivers unmatched picture clarity and sound fidelity, preserving the color and detail of your original footage. The plug-and-play setup means you spend less time worrying about cables and settings, and more time enjoying your memories.
Families and creators trust RVT Digitizer for its fast transfer speeds and professional-grade build. U.S.-based support and an extended warranty offer peace of mind. Whether converting a single wedding tape or an entire family library, the RVT Digitizer consistently delivers archival-quality results.
Imagine a content creator digitizing rare 8mm concert footage. With the RVT Digitizer, every note and frame is captured with precision, ready to be edited or shared without loss of quality.
Comparing Popular Converter Models and Brands
With so many options, how does the RVT Digitizer compare to other 8mm tape to vhs converter models? Here’s a quick look:
| Feature | RVT Digitizer | Generic Model A | Generic Model B |
|---|---|---|---|
| Picture Clarity | ★★★★★ | ★★★ | ★★ |
| Transfer Speed | Fast | Moderate | Slow |
| Plug-and-Play | Yes | No | No |
| Color Accuracy | High | Medium | Low |
| Build Quality | Pro-grade | Basic | Basic |
| Warranty/Support | Extended | Limited | Limited |
User reviews consistently praise the RVT Digitizer for its durability and ease of use. For a deeper dive into available solutions, check out these video tape converter options.
Key Buying Criteria: What to Look For
When selecting your 8mm tape to vhs converter, focus on these criteria:
- Compatibility with both 8mm camcorders and VHS VCRs
- Simple, intuitive setup
- Signal clarity and stable transfer
- Quality cables and hardware
- Warranty and responsive support
If you are digitizing a multi-format family archive, choose a converter that handles both 8mm and VHS seamlessly. A reliable converter streamlines your workflow and avoids technical headaches.
Professional vs. DIY Conversion: Pros and Cons
Should you convert tapes yourself or hire a pro? DIY offers cost savings and hands-on control, but risks include equipment issues or accidental tape damage. Professional services bring expertise, higher-quality results, and convenience, especially for fragile or rare tapes.
For example, a family with hundreds of tapes might outsource to ensure each memory is safely preserved, while hobbyists may enjoy the DIY process for a few tapes.
User Stories: Real-World Experiences
Collectors, families, and creators all benefit from choosing the right 8mm tape to vhs converter. One collector restored a rare concert video, trusting the RVT Digitizer to capture every detail. A family preserved a wedding tape, impressed by the clarity and sound. Content creators source vintage clips for documentaries, knowing their footage is safe and ready to edit.
With the right converter, preserving your story becomes an easy, rewarding process. What memories will you save next?
Future-Proofing Your Memories: Beyond VHS Conversion
Preserving family history or rare footage means thinking beyond today’s technology. Even the best 8mm tape to vhs converter can only go so far if tapes are left to age or formats become obsolete. Let’s walk through the steps to truly safeguard your memories for decades to come.
Limitations of VHS as a Long-Term Solution
VHS tapes, while once groundbreaking, are not built for eternity. Their magnetic coating slowly breaks down, which leads to faded images and muffled sound. Even the most careful transfer with an 8mm tape to vhs converter cannot stop this natural aging.
Finding a working VCR in 2026 is a challenge, as manufacturers stopped producing them years ago. Many families discover that VHS tapes stored in attics or basements have warped or become unplayable. According to 8mm tape lifespan and degradation, both 8mm and VHS tapes are at risk of permanent loss if not converted in time.
Transitioning from VHS to Digital Formats
Moving your memories to digital is the next vital step after using an 8mm tape to vhs converter. Digital files do not degrade with age, and you can copy, share, and edit them without losing quality.
Formats like MP4 and MOV are widely supported, making it simple to view videos on phones, tablets, or computers. Imagine editing a childhood birthday video, then sending it instantly to loved ones. Digital conversion opens doors to creativity and connection.
Step-by-Step: Converting VHS to Digital
Ready to digitize your VHS collection? Start with a reliable VHS player and connect it to a professional-grade converter like the RVT Digitizer. Its advanced encoding chip ensures every frame is captured sharply, with true-to-life color and crystal-clear audio.
The process is straightforward:
- Plug the VHS player into the RVT Digitizer using RCA or S-Video cables.
- Connect the digitizer to your computer or phone.
- Launch your preferred video capture software.
- Press play on the VHS, and start recording digitally.
For more details on this process, see the 8mm tape to digital conversion guide. The RVT Digitizer stands out for its fast transfer speed, plug-and-play setup, and consistent results, outperforming generic converters every time.
Storing and Backing Up Digital Files
Once your 8mm tape to vhs converter has done its part and your videos are digital, storage becomes the priority. Digital files are only as safe as your backup plan.
Best practices for digital preservation:
- Save files on at least two external drives.
- Upload copies to a trusted cloud storage service.
- Organize files by date, event, or family member.
- Use clear file names and add descriptions for easy searching.
Families who rely on the RVT Digitizer appreciate the peace of mind that comes with reliable, high-quality transfers that are easy to back up and restore.
Sharing and Editing Your Digitized Memories
The fun begins once your memories are digital. Trim out shaky footage, add music, or create a highlight reel for a family reunion. Sharing is effortless—upload to social media, send private links, or burn DVDs for those who prefer a physical copy.
Content creators love using digital files from their 8mm tape to vhs converter projects to enhance documentaries or tribute videos. Simple tools like iMovie or Windows Photos make editing accessible to everyone.
Legal and Ethical Considerations
Before you digitize and share, pause to consider the legal side. Home movies are yours to preserve and post, but commercial tapes or footage with copyrighted content may have restrictions.
Always respect privacy when sharing videos of others, especially online or in public forums. Family archives are priceless, but ethical sharing ensures everyone’s comfort and consent.
You’ve seen how easy it can be to protect those one of a kind memories from fading away, using the right tools and a little know how. Whether it’s a family birthday or rare concert footage, making the jump from 8mm tape to VHS is a powerful first step. But why stop there? If you’re ready to take the next leap and make sure your stories last for decades—safe, shareable, and crystal clear—let’s get started together. Want to experience the highest quality and the simplest process? Digitize my tapes today